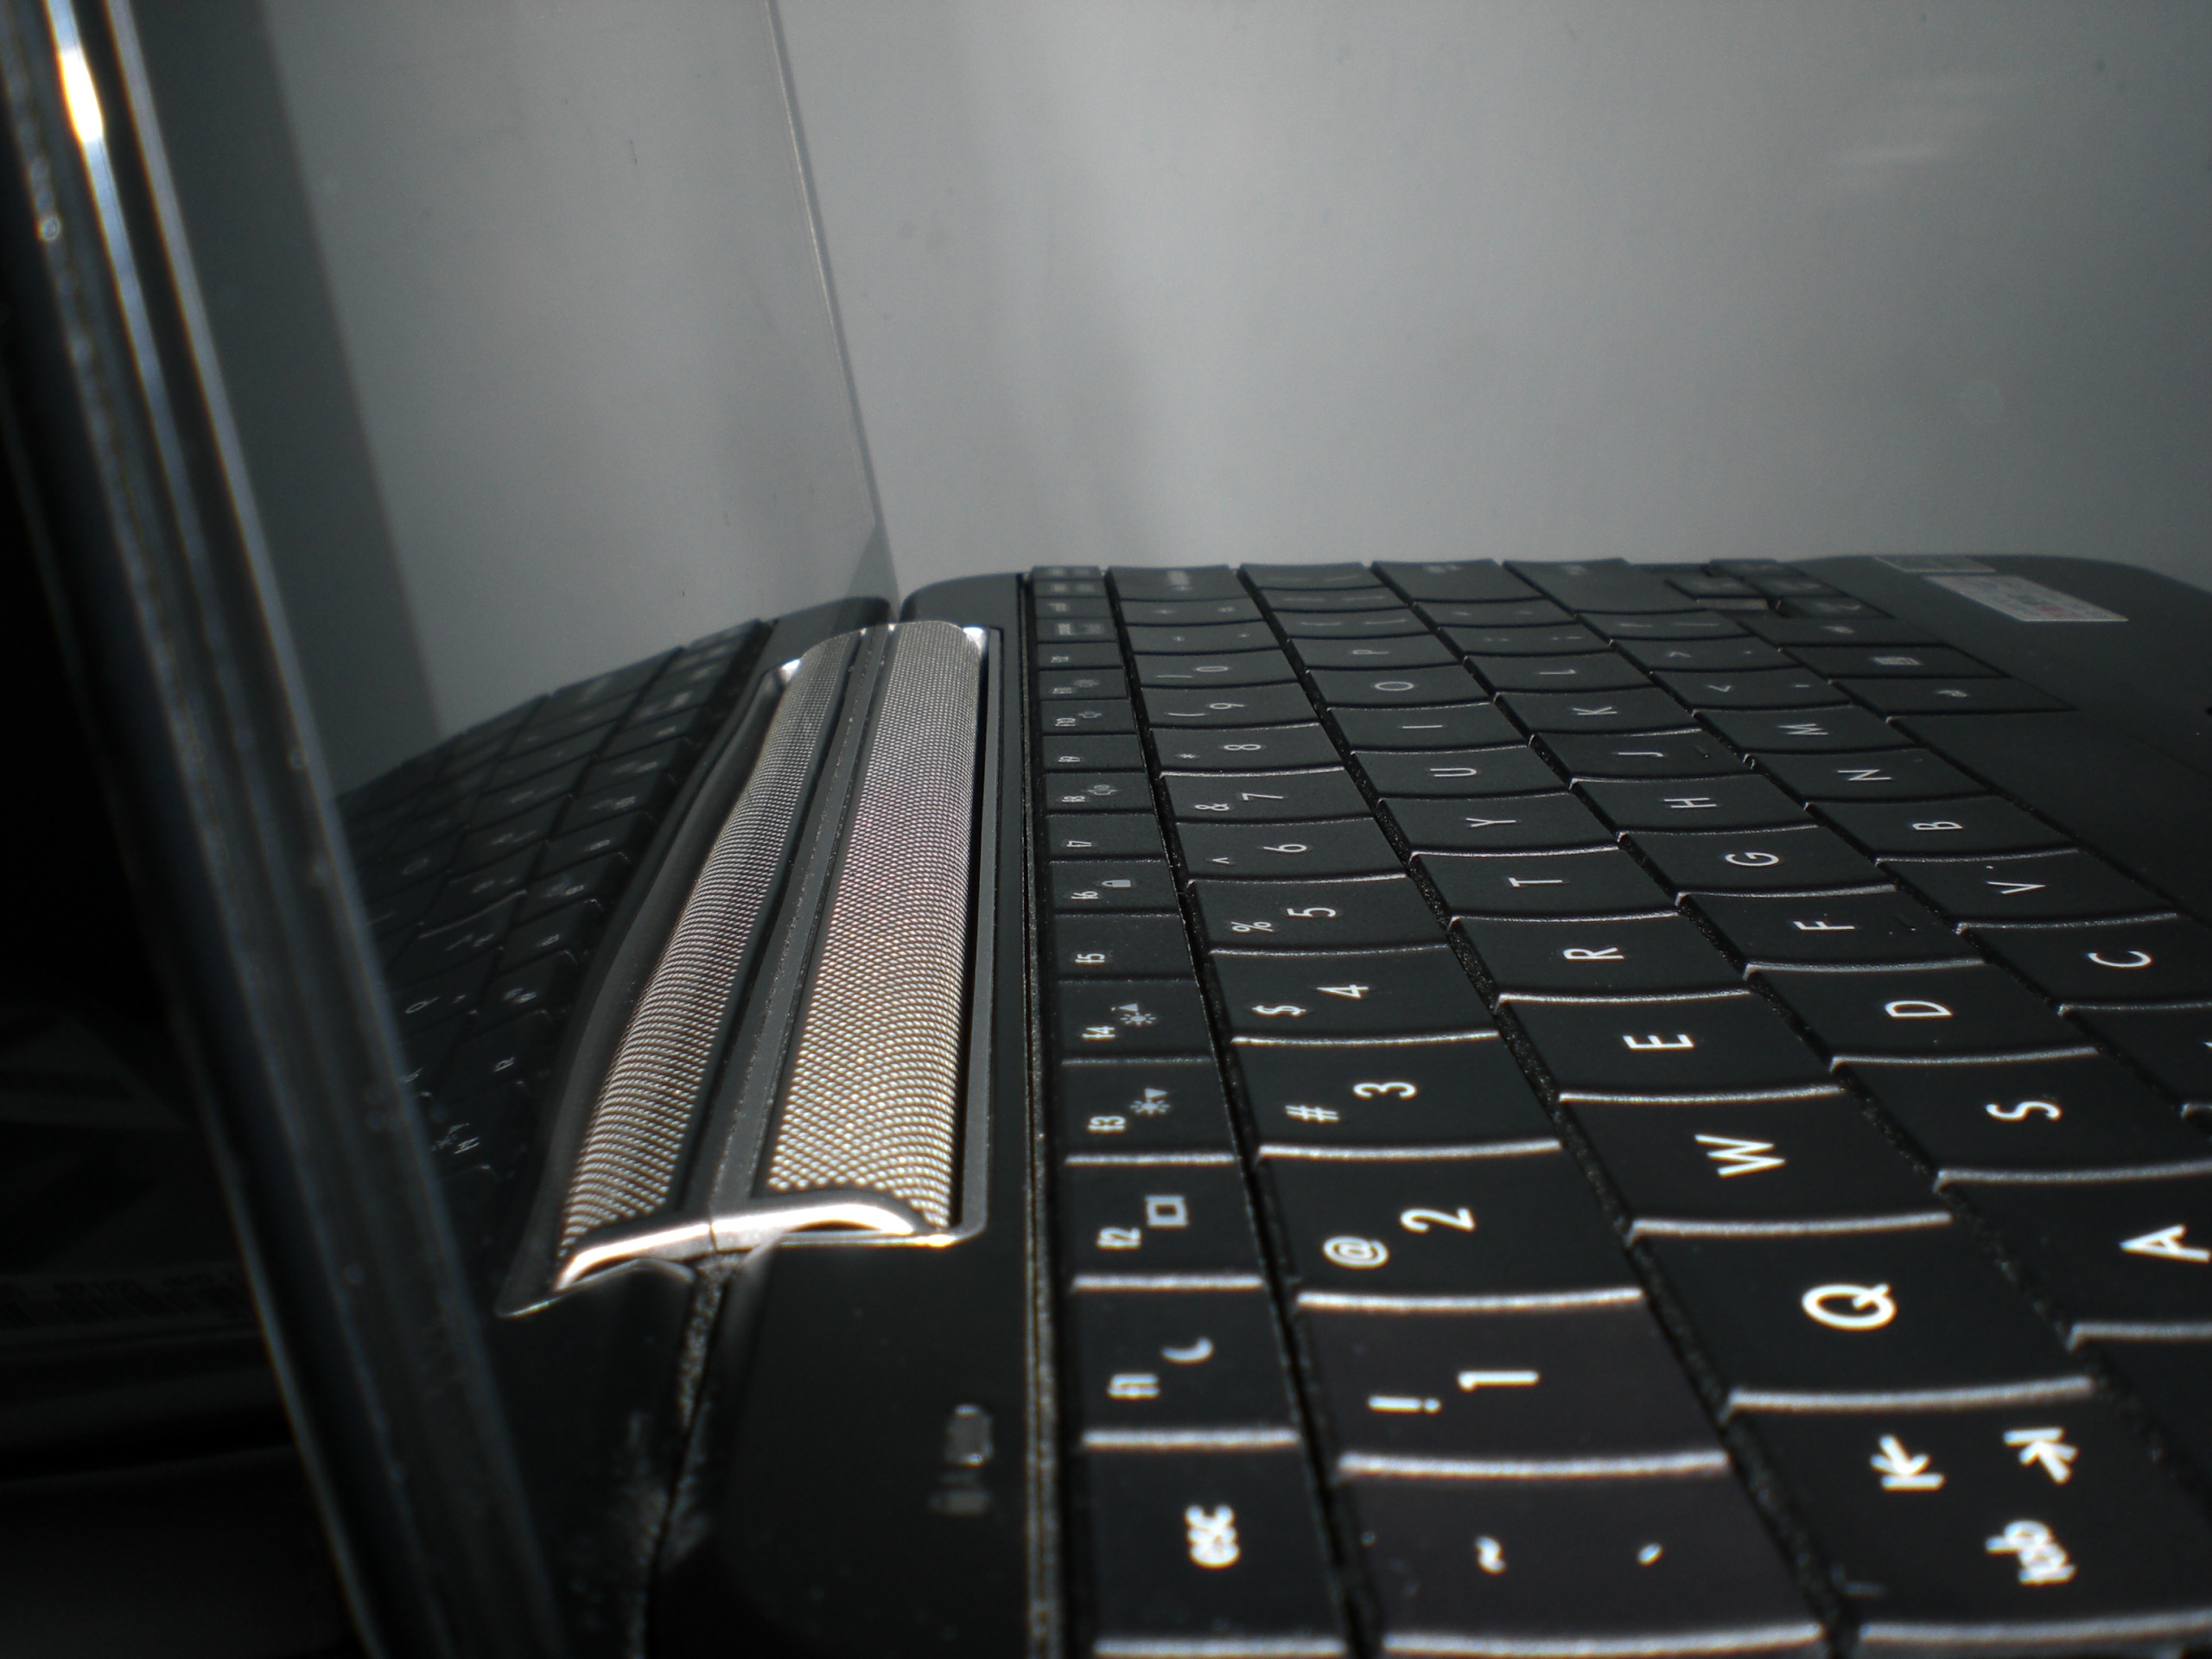
Hackintoshing the HP Mini 1000 is very much like "déjà vu" for me; a lot of the tweaks I did were stuff I'd already done on the MSI Wind hackintosh. And then the last couple of months endless tweaking and one of the consequences thereof is reinstallation/back to zero (in fact, the OS X installation I'm currently running on MacBook Mini is about the 17th reinstallation; it's been up 2 weeks straight, I hope it lasts - even for a just a whole month at least ^_^*); I've gotten a more or less clear idea of how I want my OS X to be:
After reinstallation and update to 10.5.7 (kexts for various hardware applied)
1) Install Slim Battery Monitor - I don't know why no matter with Voodoo or Apple power/battery management kexts, I get warning messages telling me that battery is running out when I know for a fact that it still at 80% - 90%. So I opt to use Slim Battery Monitor instead and enjoy several pixels saved on the menubar with a neater, slicker-looking icon that's customizable.
2) Enable Remote Disc - okay, I admit I don't see myself using this often and I also haven't tested how it works but it sure does look kewl to see the shiny disc icon sitting along my Finder sidebar. If you've updated your hackintosh up at least to 10.5.6 with the 2009 security update, or 10.5.7, you'd only have to run these two commands in Terminal:
$ defaults write com.apple.NetworkBrowser EnableODiskBrowsing -bool true
$ defaults write com.apple.NetworkBrowser ODSSupported -bool true
3) Tweak DVD Player - make DVD Player work with an external DVD drive. I've posted a how-to for this one on my other blog MacBook Wind (click here to see post).
4) Correct CPU & RAM info - get OSx86 Tools if you still don't have it installed and set the right info for your MacBook Mini by clicking on "Change About This Mac" button. Modifications take into effect only after logging out.
5) Purge OS X - or slim down OS X which can be broken down into the ff. operations/stages:
a. Prune FontBook - delete all save those required for good functioning of the system. Open Font Book > highlight all fonts > Cmd + Delete - or in the Mini's case; Alt + Backspace (I haven't modded my keyboard keys yet)
b. Delete Prefpanes - delete all preference panes that you won't use in /System/Library/PreferencesPanes/, /Library/PreferencePanes/, and /Users/your-username/Library/PreferencePanes/. Now this one, I admit I skipped this one as there wasn't a lot of entries in my user's PreferencesPanes folder and none in the Library and System's PreferencePanes.
c. Remove additional languages - install Monolingual, remove all languages except for the used by the system in your installation; keyboard layouts; support for PPC architecture since the Mini's obviously on Intel.
d. Remove printers - if you're not planning to hook up your MacBook Mini to a printer, then delete printer support in /System/Library/Printers/, /Library/Printers, and /Users/your-username/Library/Printers (all files)
e. Remove unecessary kexts - go to /System/Library/Extensions and delete the kexts in this list. Also delete /System/Library/Extensions/Caches folder as well as the /System/Library/Extensions.mkext file.
(I don't find Yukon2 kext necessary anymore as ethernet is supported in 10.5.7. You can go ahead delete this kext if you've previously applied it)
f. Reduce Applications - you can opt to reduce the number of apps you have in /Applications, retaining only those that you absolutely need and reguarly use as they may take extra time for the system to load. I now keep all my applications in a separate folder and not anymore in the default /Applications folder. I've created a new folder /MyApps. iLife 09, iWork 09 and those apps which install by default in the /Applications folder, I don't touch of course.
e. Run some maintenance jobs - launch Onyx and clean all caches; then repair disc permissions - it's always smart to repair permissions especially if you've been mucking around OS X system files and you have (you've deleted kexts and stuff, right?). Delete your Trash and then..
f. Reboot and run console - don't panic if this reboot takes rather a long long time - no, the purpose of this whole excerise hasn't been defeated; your system's just rebuilding its caches to take into account the changes that has happened. After this, run console to check for "little errors" in the boot up process and google to resolve them. Personally, I haven't done this as the messages in console were cryptic anyhow and seemed lots of work for me and my boot times not that bad already.
g. Control Console - make Console report only serious events as it'll record every single happening in the entire span of time you're gonna OS X. To do this, in Terminal type the ff. commands:
$ sudo nano /System/Library/LaunchDaemons/com.apple.syslogd.plist
count down about 23 lines until you see:
/usr/sbin/syslogd
Add the ff. lines to make it read like this:
/usr/sbin/syslogd
<string>/usr/sbin/syslogd</string>
<string>-c</string>
<string>0</string>
</array>
6) Disable Deep Sleep - get rid of the error message during boot up and reclaim 2 GB of HDD space (or 1 GB or whatever your installed ram is) via the ff. command:
$ sudo pmset -a hibernate hibernatemode 0
reboot then go to /Private/var/vm and delete the sleepimage file.
7) Disable auto syncing time - I find that when this is enabled, it adds a few seconds before I get to my desktop. This is just superficial stuff, you can actually just let it be.
No comments:
Post a Comment